| HomePrev | Part III. Core Staff Tasks | Next |
|---|---|---|
Table of Contents
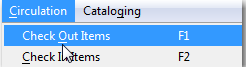
1) To check out an item press F1, click Check Out on the Circulation toolbar, or select Circulation → Check Out Items.
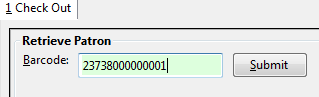
2) Scan or enter patron’s barcode and click Submit if entering barcode manually. If scanning, number is submitted automatically.
3) Scan or enter item barcode manually, clicking Submit if manual.

4) Due date is now displayed.

5) When all items are scanned, hit the F1 key or click the Check Out button on the Circulation toolbar to generate slip receipt or to exit patron record if not printing slip receipts.
1) Go to patron’s Check Out screen by clicking Circulation → Check Out Items.
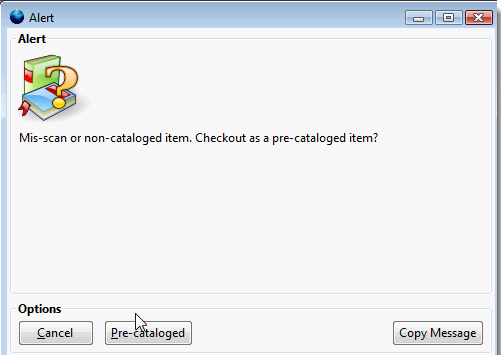
2) Scan the item barcode.
3) At prompt, click Pre-Cataloged.
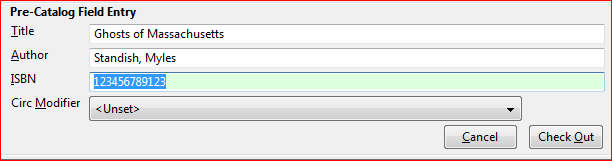
4) Enter required information and click Check Out.
On check-in, Evergreen will prompt staff to re-route the item to cataloging.
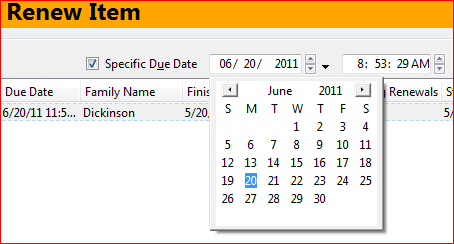
Circulation periods are pre-set. When items are checked out, due dates are automatically calculated and inserted into circulation records if the Specific Due Date checkbox is not selected on the Check Out screen. The Specific Due Date checkbox allows you to set a different due date to override the pre-set loan period.
Before you scan the item, select the Specific Due Date checkbox. Use the calendar widget to select a date. Or click in day, month or year, then use the up or down arrows to make the change or simply delete the data, then enter again. Time is used for hourly loan only. This date applies to all items until you change the date, de-select the Specific Due Date checkbox, or quit the patron record.


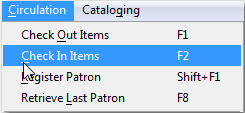
1) To check in an item, select Circulation → Check In Items, click Check In on the Circulation toolbar, or press F2.
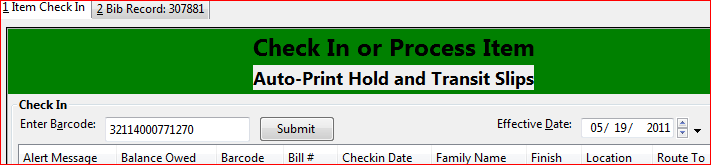
2) Scan item barcode or enter manually and click Submit.
3) If there is an overdue fine associated with the checkin, an alert will appear at the top of the screen with a fine tally for the current checkin session. To immediately handle fine payment, click the alert to jump to the patron’s bill record.

This is useful for clearing a book drop.
1) To change effective check-in date, select Circulation → Check In Items, or press F2. Use the calendar widget to choose the effective date.

2) The top green bar changes to red. The new effective date is now displayed in the header.

3) Move the cursor to the Barcode field. Scan the items. When finishing backdated check-in, change the Effective Date back to today’s date.
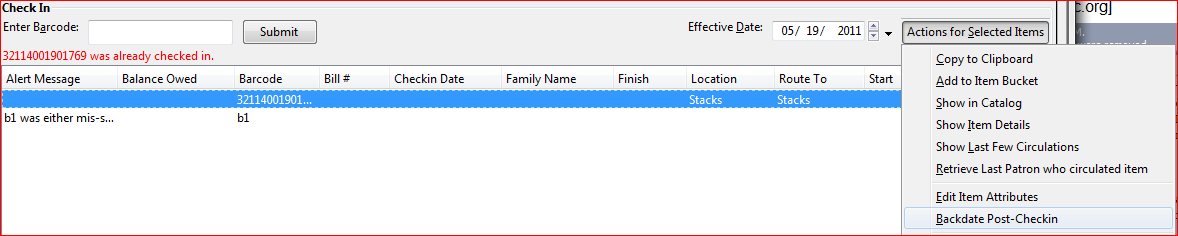
After an item has been checked in, you may use the Backdate Post-Checkin function to backdate the check-in date.
1) Select the item on the Check In screen, click Actions for Selected Items → Backdate Post-Checkin.
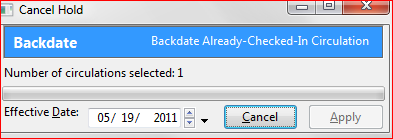
2) Use the calendar widget to select an effective check-in date. Click Apply. Overdue fines, if any, will be adjusted according to the new effective check-in date.
Checkin Modifiers
At the right bottom corner there is a Checkin Modifiers pop-up list. The options are:
These options may be selected simultaneously. The selected option is displayed in the header area.

Checked-out items can be renewed if your library’s policy allows it. The new due date is calculated from the renewal date. Existing loans can also be extended to a specific date by editing the due date or renewing with a specific due date.
1) Retrieve the patron record and go to the Items Out screen.
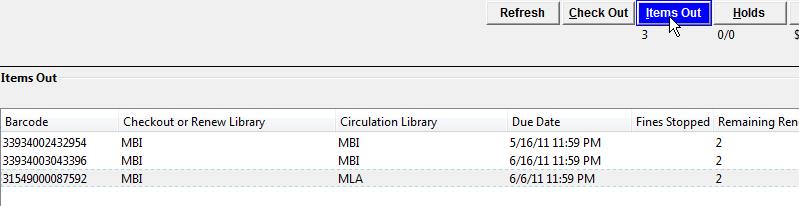
2) Select the item you want to renew. Click on Actions for Selected Items → Renew. If you want to renew all items in the account, click Renew All instead.

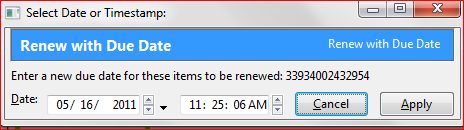
3) If you want to specify the due date, click Renew with Specific Due Date. You will be prompted to select a due date. Once done, click Apply.
Renewal can also be done on the Item Status screen. See the section called Item Status (F5) for more information.
1) To renew items by barcode, select Circulation → Renew Items or press CTRL-F2.
2) Scan or manually entire the item barcode.

3) If you want to specify the due date, click Specific Due Date and select a new due date from the calendar.
1) Retrieve the patron record and go to the Items Out screen.
2) Select the item you want to renew. Click on Actions for Selected Items → Edit Due Date.
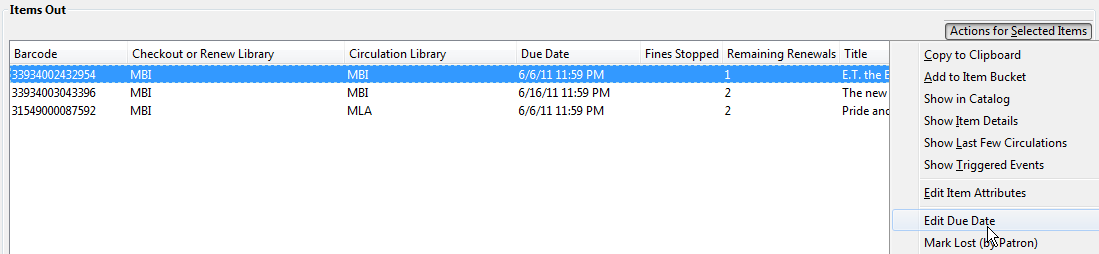
3) Select a new due date in the pop-up window, then click Apply.
You can select multiple items by pressing down the CTRL key on your keyboard and clicking each items you want to edit.
Editing a due date is not included in the renewal count.
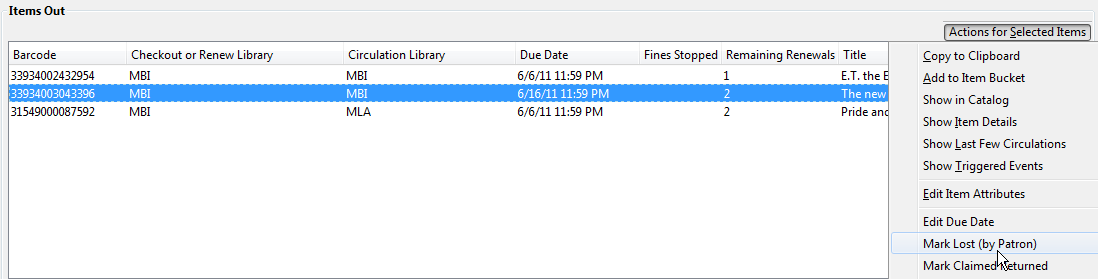
1) To mark items Lost, retrieve patron record and click Items Out.
2) Select the item. Click on Actions for Selected Items → Mark Lost (by Patron).
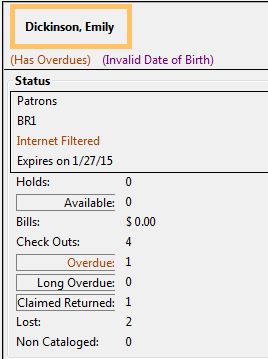
3) The lost item now displays in the Lost/Claimed Returned/Long Overdue, Has Unpaid Billings section of the patron record.

4) The lost item also adds to the count of Lost items in the patron summary on the left (or top) of the screen.
Lost Item Billing
If an item is returned after a lost bill has been paid and the library’s policy is to void the replacement fee for lost-then-returned items, there will be a negative balance in the bill. A refund needs to be made to close the bill and the circulation record. Once the outstanding amount has been refunded, the bill and circulation record will be closed and the item will disappear from the Items Out screen.
If you need to balance a bill with a negative amount and close the linked lost circulation record without making a refund (removing the item from the Lost, Claimed Returned, Long Overdue, Has Unpaid Bills panel on the Items Out screen), you need to add two dummy bills to the existing bills. The first one can be of any amount (e.g. $0.01), while the second should be of the absolute value of the negative amount. Then you need to void the first dummy bill. The reason for using a dummy bill is that Evergreen will check and close the circulation record only when payment is applied or bills are voided.
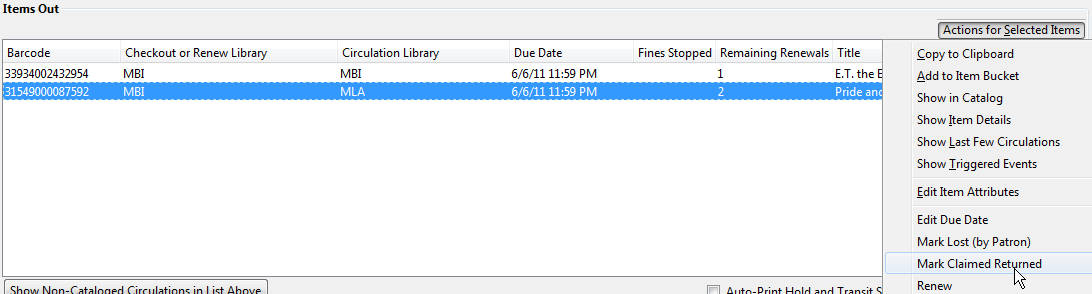
1) To mark an item Claimed Returned, retrieve the patron record and go to the Items Out screen.
2) Select the item, then select Actions for Selected Items → Mark Claimed Returned from the dropdown menu.
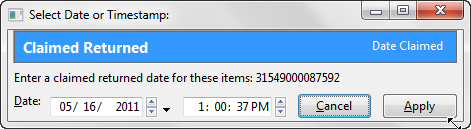
3) Select a date and click Apply.
4) The Claimed Returned item now displays in the Lost/Claimed Returned/Long Overdue, Has Unpaid Billings section of the patron record.
5) The Claimed Returned item adds to the count of Check Outs that are Claimed Returned in the patron summary on the left (or top) of the screen. It also adds to the total Claims-returned Count (including those that are current Check Outs and those that have since been returned) that is displayed when editing the patron’s record.
More on Claimed Returned Items
1) To record in-house use, select Circulation → Record-In House Use, click Check Out → Record In-House Use on the circulation toolbar , or press F6.

2) To record in-house use for cataloged items, enter number of uses, scan barcode or type barcode and click Submit.

The statistics of in-house use are separated from circulation statistics. The in-house use count of cataloged items is not included in the items' total use count.
The Item Status screen is very useful. Many actions can be taken by either circulation staff or catalogers on this screen. Here we will cover some circulation-related functions, namely checking item status, viewing past circulations, inserting item alert messages, marking items missing or damaged, etc.
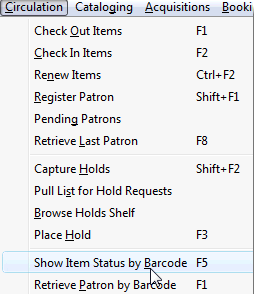
1) To check the status of an item, select Search → Search for copies by Barcode or Circulation → Show Item Status by Barcode; click the Item Status button on the circulation or cataloging toolbar; or press F5.
2) Scan the barcode or type it and click Submit. The current status of the item is displayed with selected other fields. You can use the column picker to select more fields to view.

3) Click the Alternate View button, and the item summary and circulation history will be displayed.
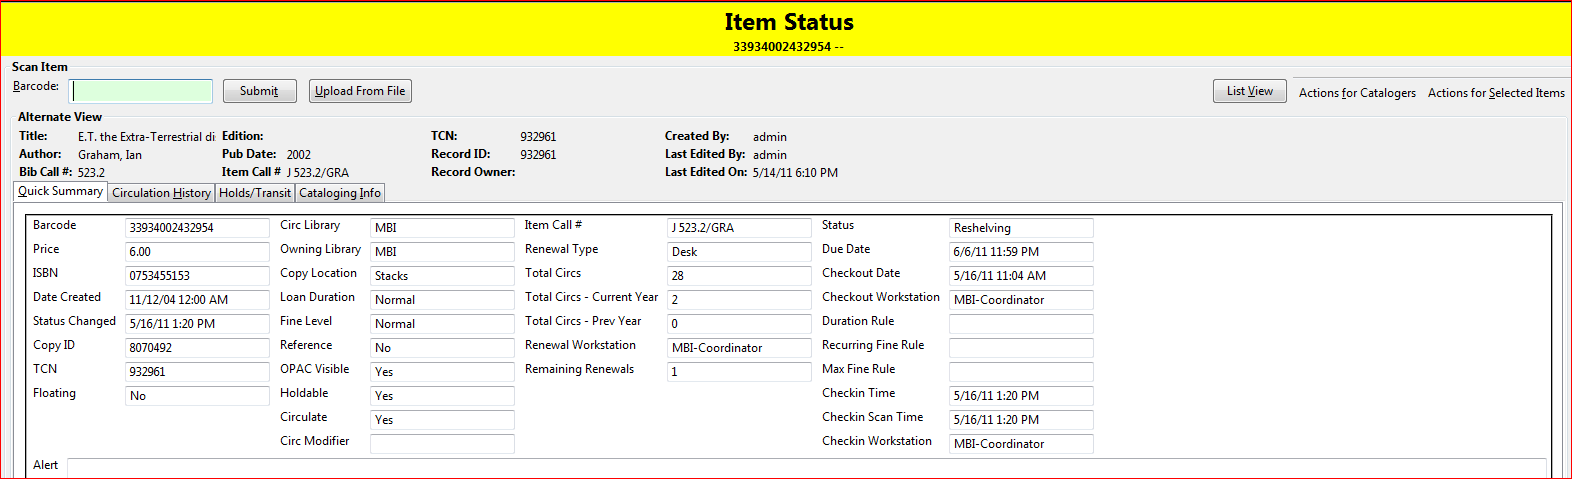
4) Click List View to go back.

If the item’s status is "Available", the displayed due date refers to the previous circulation’s due date.
Upload From File allows you to load multiple items saved in a file on your local computer. The file contains a list of the barcodes in text format. To ensure smooth uploading and further processing on the items, it is recommended that the list contains no more than 100 items.
1) To view past circulations, retrieve the item on the Item Status screen as described above.
2) Select Actions for Selected Items → Show Last Few Circulations.

3) The item’s recent circulation history is displayed.
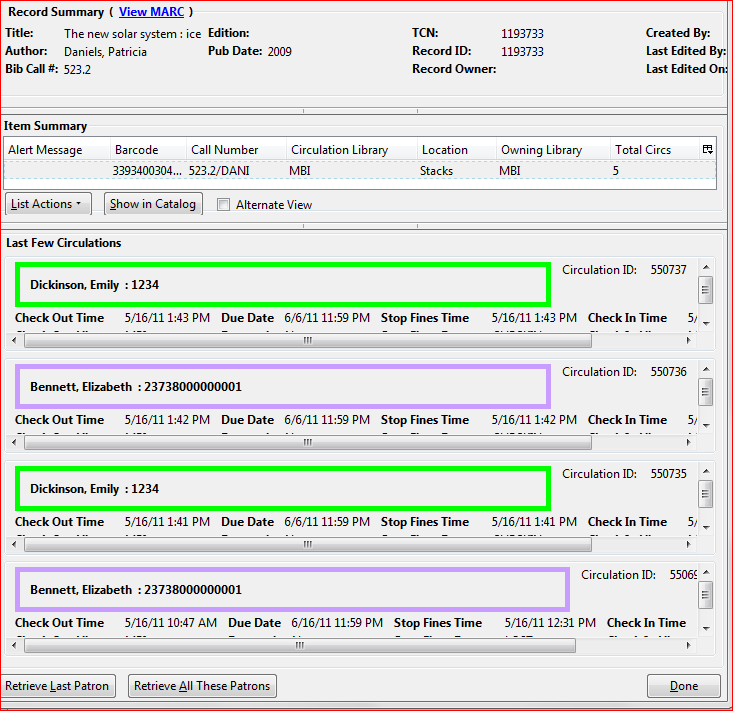
4) To retrieve the patron(s) of the last circulations, click the Retrieve Last Patron or the Retrieve All These Patrons button at the bottom of the above screen. Patron record(s) will be displayed in new tab(s).
The number of items that displays in the circulation history can be set in Local Administration → Library Settings Editor.
You can also retrieve the past circulations on the patron’s Items Out screen and from the Check In screen.
1) To mark items damaged or missing, retrieve the item on the Item Status screen.
2) Select the item. Click on Actions for Selected Items → Mark Item Damaged or Mark Item Missing.
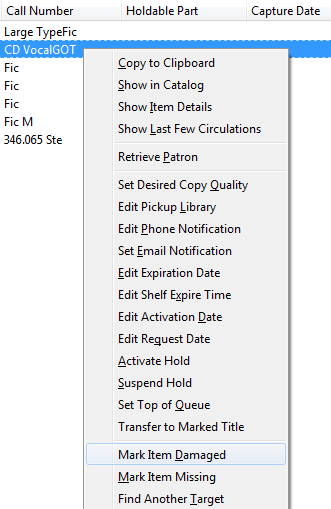
[NOTE} Depending on the library’s policy, when marking an item damaged, bills (cost and/or processing fee) may be inserted into the last borrower’s account.
3) Following the above procedure, you can check in and renew items by using the Check in Items and Renew Items on the dropdown menu.
The Edit Item Attributes function on the Actions for Selected Items dropdown list allows you to edit item records. Here, we will show you how to insert item alert messages by this function. See cataloging instructions for more information on item editing. 1) Retrieve record on Item Status screen.
2) Once item is displayed, highlight it and select Actions for Selected Items → Edit Item Attributes.
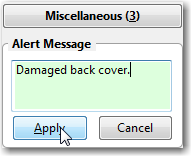
3) The item record is displayed in the Copy Editor.
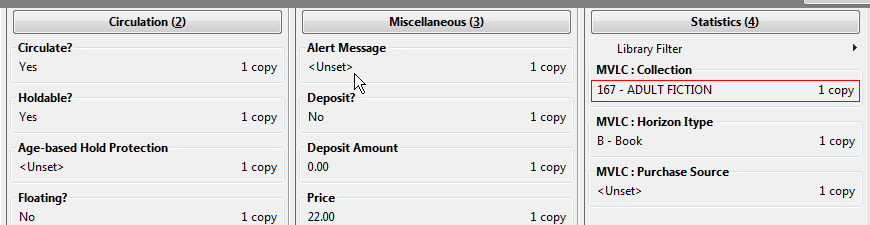
4) Click Alert Message in the Miscellaneous column. The background color of the box changes. Type in the message then click Apply.
5) Click Modify Copies, then confirm the action.