 |  | ||
| HomePrev | Part XI. Circulation | Next | |
|---|---|---|---|
Table of Contents
1) To check out an item press F1, click Check Out on the Circulation toolbar, or select Circulation → Check Out Items.

2) Scan or enter patron’s barcode and click Submit if entering barcode manually. If scanning, number is submitted automatically.

3) Scan or enter item barcode manually, clicking Submit if manual.

4) Due date is now displayed.

5) When all items are scanned, hit the F1 key or click the Check Out button on the Circulation toolbar to generate slip receipt or to exit patron record if not printing slip receipts.
1) Go to patron’s Check Out screen by clicking Circulation → Check Out Items.
2) Scan the item barcode.
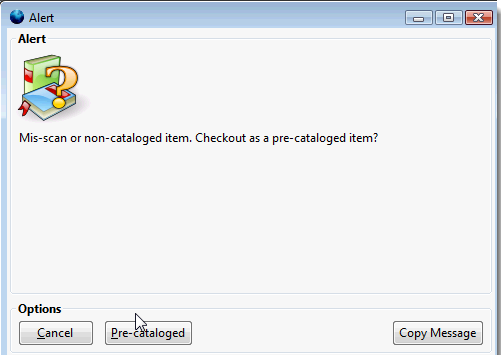
3) At prompt, click Pre-Cataloged.

4) Enter required information and click Check Out.

On check-in, Evergreen will prompt staff to re-route the item to cataloging.
Circulation periods are pre-set. When items are checked out, due dates are automatically calculated and inserted into circulation records if the Specific Due Date checkbox is not selected on the Check Out screen. The Specific Due Date checkbox allows you to set a different due date to override the pre-set loan period.
Before you scan the item, select the Specific Due Date checkbox. Use the calendar widget to select a date. Or click in day, month or year, then use the up or down arrows to make the change or simply delete the data, then enter again. Time is used for hourly loan only. This date applies to all items until you change the date, de-select the Specific Due Date checkbox, or quit the patron record.

