Chapter 70. Receiving

Table of Contents

Serials Control View Receiving
Set Special Statuses
Batch Receiving
Simple Batch Receiving
Advanced Batch Receiving

You can receive either through the Serials Control View or in Batch Receive with the simple or advanced interface.

Serials Control View Receiving

Receiving
  1. To receive items, click the Receive radio button. In the top pane, the items that have yet to be received are displayed. In the bottom pane, recently received items are displayed with the most recent at the top.
  2. Select the branch that will receive the items from the drop down box.
  3. Select the item that you want to receive.
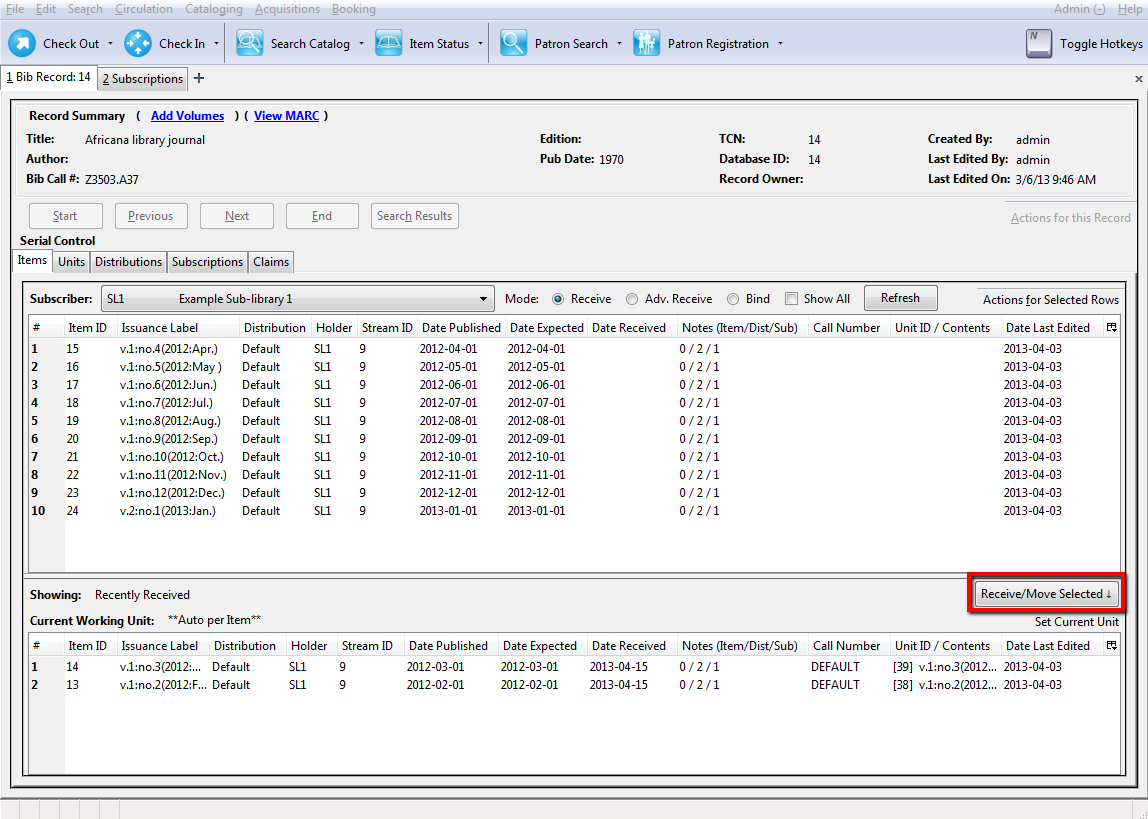
  4. Select the current working unit. Click Set Current Unit, located in the lower right corner of the screen. A drop down menu will appear.

    • If you want to barcode each item individually, select Auto per item. This setting is recommended for most receiving processes.
    • If you want each item within a unit to share the same barcode, then select New Unit. This setting is advised for most binding processes.
    • If you want the item to be received or bound into an existing item, select Recent and select the desired item from the menu. To make a change in bound items, receive or bind the items into an already existing unit.
  5. Click Receive/Move Selected.
  6. Enter a barcode and call number if prompted to do so.
  7. A message confirming receipt of the item appears. Click OK.
  8. The screen refreshes. Now the item has moved from the top pane to the bottom pane. (If you have checked "Show all", the item also remains in the top pane, with a received date added to it.) In the bottom pane, the item that you have just received is now at the top of the list of the received items.

After receiving items, you can view the updated holdings in the OPAC.

Set Special Statuses

Set Item Status

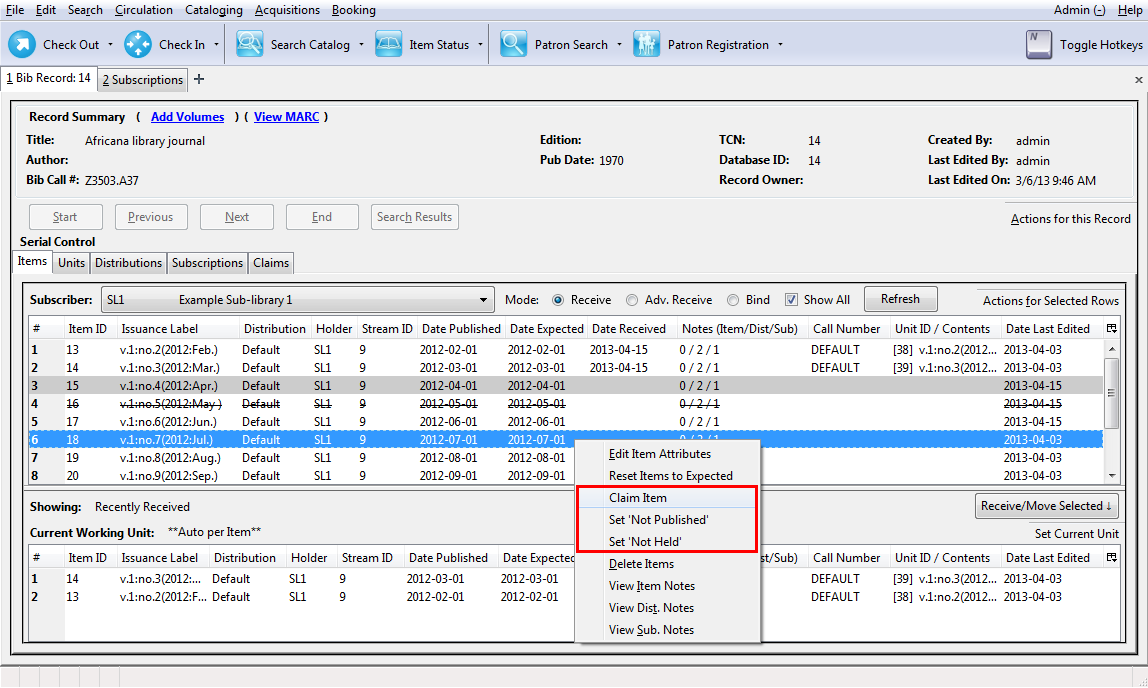
The Serial Control interface prevents direct editing of serial item statuses for data integrity reasons. As an alternative to direct control, the interface offers menu options for setting items to claimed, not held, and not published. Note that these statuses are still currently useful for reporting and display purposes only. The claimed status changes the display but does not yet connect with the Acquisitions module in any way. Also note that, once you set an item to not held or not published, that item will be hidden from the list unless you check the Show All checkbox.