 |  | ||
| HomePrev | Chapter 24. Describing your organization | Next | |
|---|---|---|---|
Organizational Units are the specific instances of the organization unit types that make up your library’s hierarchy. These will have distinctive proper names such as Main Street Branch or Townsville Campus.
After installing the Evergreen software, the default CONS, SYS1, BR1, etc., organizational units remain. These must be removed or edited to reflect actual library entities.
To create a new dependent organizational unit, click New Child. The new child will appear in the hierarchy list below the parent unit. Click on the new unit and edit the data, click Save
The Addresses tab allows you to enter library contact information. Library Phone number, email address, and addresses are used in patron email notifications, hold slips, and transit slips. The Library address tab is broken out into four address types: Physical Address, Holds Address, Mailing Address, ILL Address.
The Hours of Operation tab is where you enter regular, weekly hours. Holiday and other closures are set in the Closed Dates Editor. Hours of operation and closed dates impact due dates and fine accrual.
After you change Org Unit data, you must run the autogen.sh script. This script updates the Evergreen organization tree and fieldmapper IDL. You will get unpredictable results if you don’t run this after making changes.
Run this script as the opensrf Linux account.
autogen.sh
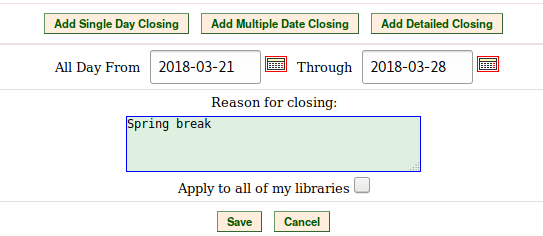
These dates are in addition to your regular weekly closed days (see the section called “Library Hours of Operation”). Both regular closed days and those entered in the Closed Dates Editor affect due dates and fines:
Closed dates do not affect the processing delays for Action/Triggers. For example, if your library has a trigger event that marks items as lost after 30 days, that 30 day period will include both open and closed dates.

Now that your organizational structure is established, you can begin configuring permissions for the staff users of your Evergreen system.
If your closed dates include a portion of a business day, you should create a detailed closing.